
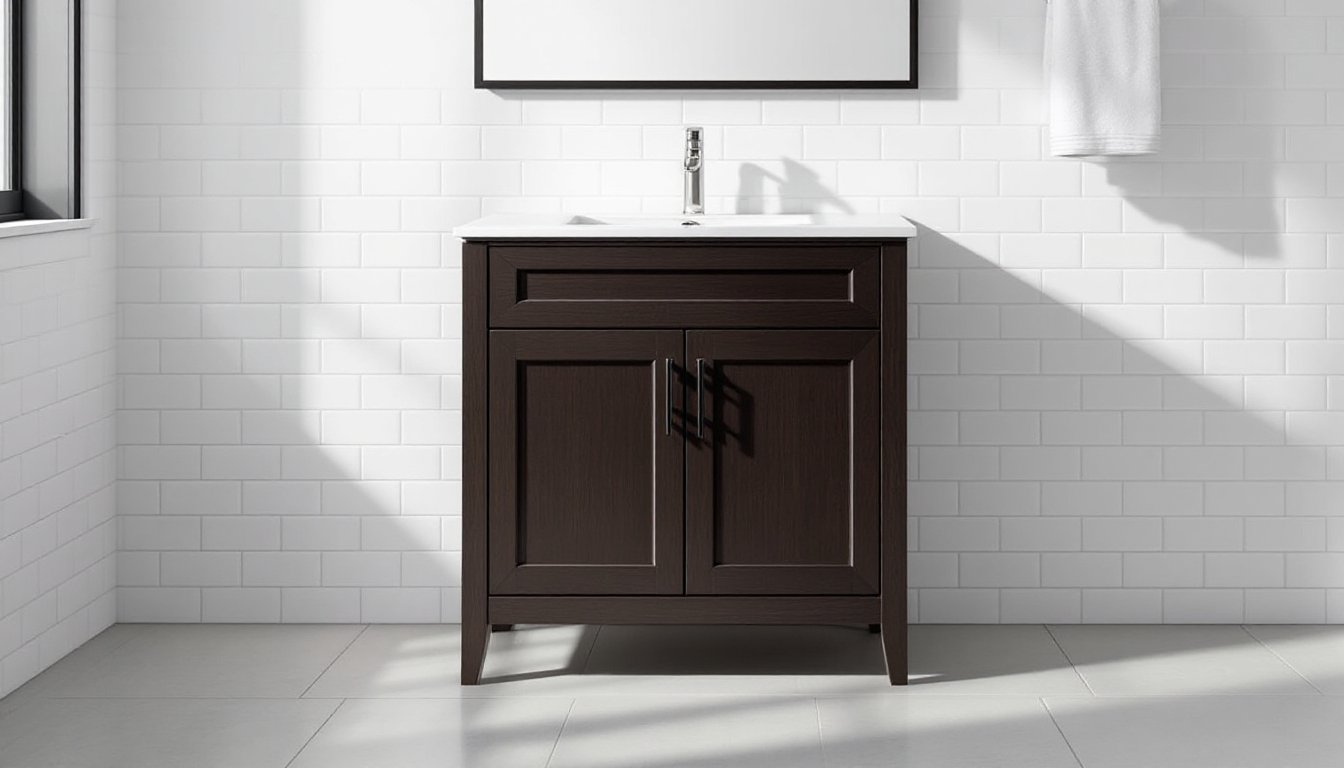
A dark wood bathroom vanity anchors the room with a warmth that white cabinets can’t match. It hides water spots better than lighter finishes, pairs cleanly with nearly any countertop material, and works in both traditional and contemporary spaces. Whether you’re replacing a builder-grade unit or designing a master bath from scratch, understanding finishes, dimensions, and installation basics will save time and money. This guide walks through choosing, pairing, and installing a dark wood vanity that looks professional and lasts.
Table of Contents
ToggleKey Takeaways
- A dark wood bathroom vanity hides water stains and wear better than light finishes while working seamlessly with nearly any countertop material and design style.
- Espresso and walnut are the most popular dark wood finishes—espresso is contemporary and practical, while walnut offers premium aesthetic appeal with natural grain variation.
- Choose a vanity width that matches your space: 36 inches works well for single-sink setups, while double-sink vanities require 60 inches minimum.
- Pair your dark wood vanity with white, gray, or beige countertops to create contrast that reflects light and prevents the room from feeling cave-like.
- Successful dark wood bathroom vanity installation requires securing freestanding units to wall studs and wall-mounted units to reinforced blocking, plus thorough sealing against water damage at connections and edges.
Why Choose a Dark Wood Bathroom Vanity
Dark wood finishes offer practical advantages beyond aesthetics. They’re less likely to show water stains, toothpaste splatters, and the general wear that comes with daily use. In smaller bathrooms, a dark vanity creates visual weight at floor level, making the upper walls and ceiling feel taller by contrast.
From a design standpoint, dark wood acts as a neutral. It pairs as easily with white subway tile as it does with natural stone or bold accent colors. Many homeowners updating from oak or maple cabinetry find that a walnut or espresso finish modernizes the space without requiring a full gut renovation.
Dark wood also complements a wide range of hardware finishes, brushed nickel, matte black, oil-rubbed bronze, and even polished brass. This flexibility matters if you’re phasing a bathroom update over time or working within a tight budget.
One caution: Dark finishes can make a small, poorly lit bathroom feel cave-like. If your bath lacks a window or adequate overhead lighting, plan to add task lighting near the mirror and consider a lighter countertop to balance the palette.
Popular Dark Wood Finishes and Styles
Espresso and Walnut Tones
Espresso is a deep brown with subtle red or chocolate undertones. It’s the most common dark finish in stock vanities and works well in transitional or contemporary bathrooms. Espresso tends to have a satin or semi-gloss sheen, which makes it easy to wipe down but can show fingerprints if you have young kids.
Walnut, whether natural or stained, has more visible grain and color variation. American black walnut delivers rich, dark browns with occasional purple or gray streaks. It’s a premium choice that costs more than birch or poplar with an espresso stain, but the natural beauty justifies the price if you’re after a high-end look. Many designers featured on platforms like Remodelista favor walnut for its organic texture and longevity.
Other options include dark cherry (warm, reddish-brown) and ebonized oak (black-toned with pronounced grain). Both read as traditional unless paired with modern hardware and clean lines.
Modern vs. Traditional Dark Wood Designs
Modern dark wood vanities feature flat-panel doors (also called slab doors), minimal or integrated hardware, and straight lines. They’re often frameless construction, meaning the cabinet box has no face frame, doors mount directly to the sides. This style maximizes interior storage and pairs well with wall-mounted faucets and vessel sinks.
Traditional designs use raised-panel doors, decorative molding, and face-frame construction. Drawer fronts may have bead-board detailing or arched profiles. Hardware is typically more ornate, cup pulls, bin pulls, or knobs in antique finishes. You’ll see traditional dark wood vanities in homes with classic interior design trends, especially in master baths with clawfoot tubs or wainscoting.
If you’re unsure which style fits your home, consider the rest of your trim and cabinetry. Matching the door style (flat vs. raised-panel) to your kitchen cabinets creates visual continuity, even if the finish colors differ.
Choosing the Right Size and Configuration
Bathroom vanities come in standard widths: 24″, 30″, 36″, 48″, 60″, and 72″. Measure your available wall space, then subtract 2–3 inches on each side for breathing room and to account for baseboard or trim. A vanity crammed wall-to-wall looks forced and complicates plumbing access.
Depth is typically 21″, which includes a countertop overhang. In tight powder rooms or half-baths, 18″ shallow-depth vanities are available. Double-check that your door swing won’t hit the vanity when opened fully.
For single-sink vanities, 36″ is the sweet spot for a primary or guest bath, it offers drawer storage and countertop workspace without overwhelming the room. For double-sink setups, start at 60″ minimum. Anything narrower forces you into undermount sinks with minimal counter space between them.
Configuration options include:
- Freestanding: The most common. Easier to install and replace.
- Wall-mounted (floating): Mounts to wall studs with a cleat or bracket. Leaves floor space open, which makes small baths feel larger and simplifies cleaning. Requires solid blocking in the wall: not all stud bays will support the weight without reinforcement.
- Furniture-style with legs: Freestanding but raised on turned or tapered legs. Adds a vintage or farmhouse feel. Harder to seal against water at the floor.
If you’re replacing an existing vanity, note the plumbing rough-in locations (drain and supply lines). Moving them requires cutting into walls and may need a permit depending on local codes. Buying a vanity that matches your existing plumbing footprint keeps the project DIY-friendly.
Pairing Your Dark Wood Vanity with Countertops and Hardware
Countertop materials should contrast with or complement the wood tone without blending in completely. Popular pairings include:
- White quartz or marble: High contrast. Clean, classic look. White countertops reflect light, which balances the dark base.
- Gray quartz or soapstone: Softer contrast. Works well in contemporary or industrial-style baths.
- Beige or cream granite: Warm, cohesive palette. Good if your floor tile or wall color already has warm undertones.
- Black granite or quartz: Bold, monochromatic. Can feel heavy if the rest of the room lacks lighter elements. Best in larger bathrooms with ample natural light.
Avoid busy, multi-color granite with dark wood unless you’re committed to a traditional aesthetic, it can read dated quickly. For ideas on pairing materials and finishes, browsing home design inspiration galleries helps narrow down what works in real-world installations.
Edge profiles matter more than most DIYers realize. A simple eased or straight edge keeps the look modern. Ogee or bullnose edges lean traditional. If your vanity has clean lines, stick with a minimal edge.
Hardware is where you can inject personality or keep things understated. For modern dark wood vanities, matte black bar pulls or sleek brushed nickel knobs work well. Traditional styles call for cup pulls, bin pulls, or glass knobs in oil-rubbed bronze or antique brass.
Install pulls on drawers and doors horizontally centered, typically 2.5–3 inches from the bottom edge of the drawer front. For cabinet doors, place knobs or pulls about 2.5 inches down from the top corner. Consistent placement across all doors and drawers looks professional.
Don’t forget the faucet. A widespread faucet (separate hot and cold handles) suits traditional vanities, while a single-handle or wall-mounted faucet complements modern designs. Finish should match or coordinate with your hardware, mixing too many metal finishes creates visual clutter.
Installation Tips for DIY Homeowners
Before you start, turn off the water supply at the shutoff valves under the existing sink. If those valves are corroded or leaking, replace them now, it’s far easier without a vanity in the way. You’ll need an adjustable wrench, basin wrench, level, stud finder, drill/driver, shims, and possibly a jigsaw if you need to notch the back panel for plumbing.
Removal: Disconnect the P-trap and supply lines. If the vanity is caulked to the wall, score the caulk line with a utility knife before pulling the unit away. Old vanities may be screwed into studs or just resting in place.
Prep the area: Check that the floor is level. If it’s not, you’ll need composite shims to level the vanity front-to-back and side-to-side. An unlevel vanity causes doors to swing open or prevents drawers from closing smoothly.
Positioning: Slide the vanity into place, leaving enough clearance behind for supply lines and the drain. Mark the stud locations through the mounting rail or back panel. For freestanding vanities, you’ll typically drive 3-inch cabinet screws through the back rail into studs at the top rear of the unit.
Securing wall-mounted vanities requires more care. Locate studs and install 2×6 or 2×8 blocking between them if your studs don’t align with the vanity’s mounting cleat. The cleat (a horizontal board on the back of the vanity) should rest on the blocking, and you’ll screw through the cleat into the studs or blocking with 3-inch screws rated for the vanity’s weight plus countertop and sink. Use a level to ensure the vanity is perfectly horizontal before tightening screws.
Safety note: Always wear safety glasses when cutting or drilling, and use a dust mask if modifying the vanity or cutting into drywall.
Once secured, attach the countertop (if separate) per the manufacturer’s instructions, most use silicone adhesive or brackets. Install the faucet and drain assembly before setting an undermount sink, or after if it’s a drop-in or vessel sink. Reconnect supply lines and the P-trap, then turn the water back on and check for leaks. Run water for several minutes and inspect all connections.
Apply a thin bead of silicone caulk along the back edge where the vanity meets the wall and around the sink rim (if top-mount). Smooth with a wet finger or caulk tool. Let cure per the product instructions, usually 24 hours, before heavy use.
If your bathroom remodel involves moving plumbing, adding new circuits for lighting, or altering structural walls, check local building codes and permit requirements. Most jurisdictions require permits for wet-area plumbing changes and electrical work, and inspections ensure code compliance and safety.