A smart home isn’t science fiction, it’s a practical upgrade that homeowners can tackle themselves. With the right devices and a clear plan, anyone can automate lights, locks, thermostats, and security systems without hiring a tech consultant. The barrier to entry has never been lower, and most setups require nothing more than a smartphone, a Wi-Fi network, and an afternoon of installation. This guide walks through the planning, purchasing, and setup process for transforming a traditional house into a connected, efficient living space.
Table of Contents
ToggleKey Takeaways
- Creating a smart home requires choosing one ecosystem (Amazon Alexa, Google Home, or Apple HomeKit) upfront to ensure device compatibility and avoid integration headaches.
- Start small with essential devices like a smart speaker, bulbs or switches, a thermostat, and smart plugs ($100–$200 for a starter setup) and scale gradually rather than buying everything at once.
- Smart thermostats can reduce heating and cooling costs by 10–23% annually, while automated security systems and remote locks provide real-time monitoring and eliminate hidden keys.
- Most smart devices install in under 30 minutes without rewiring—use the 2.4 GHz Wi-Fi band, restart your router if connectivity fails, and confirm pairing mode before connecting.
- Automation routines that bundle actions (like morning routines that adjust lights and temperature) deliver the real power of smart home technology by reducing daily friction without manual input.
- Smart homes now increase property value and resale speed, as buyers in 2026 expect at least basic automation in modern homes.
What Is a Smart Home and Why Should You Build One?
A smart home uses internet-connected devices to automate and remotely control household functions. Lights, door locks, thermostats, cameras, and appliances all communicate through a central hub or Wi-Fi network, allowing homeowners to manage everything from a phone app or voice command.
The benefits go beyond convenience. Smart thermostats can reduce heating and cooling costs by 10–23% annually, according to industry data. Security cameras and smart locks provide real-time monitoring and remote access, eliminating hidden keys and reducing break-in vulnerability. Automated lighting and motorized shades adjust based on occupancy or time of day, cutting energy waste.
Smart home technology also increases property value. Buyers in 2026 expect at least basic automation, and homes with integrated systems sell faster and command higher prices in competitive markets. For DIYers, the installation process is straightforward, most devices use standard electrical boxes, require no rewiring, and install in under 30 minutes per unit.
Planning Your Smart Home Setup
Assess Your Needs and Set a Budget
Start by identifying which tasks cause the most friction in daily routines. Forgetting to lock doors, adjusting thermostats multiple times a day, or fumbling for light switches in the dark are all good candidates for automation. Write down three to five problem areas before browsing products.
Budgets vary widely. A starter setup with a smart speaker, a few bulbs, and a smart plug runs $100–$200. Mid-range systems with a hub, multiple sensors, locks, and a thermostat cost $500–$1,200. Whole-home automation with integrated lighting, motorized shades, security cameras, and multi-room audio can exceed $3,000. Factor in potential electrical work if installing hardwired switches or upgrading outlets to support higher loads.
Avoid the temptation to buy everything at once. Smart home systems scale easily, so starting small and adding devices over time spreads out costs and lets homeowners learn the ecosystem without feeling overwhelmed.
Choose Your Smart Home Ecosystem
Three major ecosystems dominate the market in 2026: Amazon Alexa, Google Home, and Apple HomeKit. Each uses different protocols and compatibility standards, so choosing one upfront prevents headaches later.
Amazon Alexa offers the widest device compatibility and the most affordable entry point. Echo speakers and displays integrate with thousands of third-party products, and the Alexa app handles setup for most devices. It’s the best choice for budget-conscious DIYers who want maximum flexibility.
Google Home excels at natural language processing and integrates tightly with Google services like Calendar, YouTube, and Nest products. It’s ideal for households already invested in the Google ecosystem. The Home app is clean and intuitive, though device compatibility lags slightly behind Alexa.
Apple HomeKit prioritizes privacy and security, requiring stricter certification for compatible devices. Setup uses the Home app on iPhone or iPad, and all automation runs locally when possible, reducing cloud dependence. It’s the right choice for users who value data security and own multiple Apple devices, but product selection is narrower and prices run higher.
Stick with one ecosystem for the core of the system. Cross-platform devices exist, many smart plugs, bulbs, and thermostats work with all three, but hubs, speakers, and automation routines lock into a single platform.
Essential Smart Devices to Start With
Building a smart home tech setup doesn’t require a full retrofit. Start with these core devices:
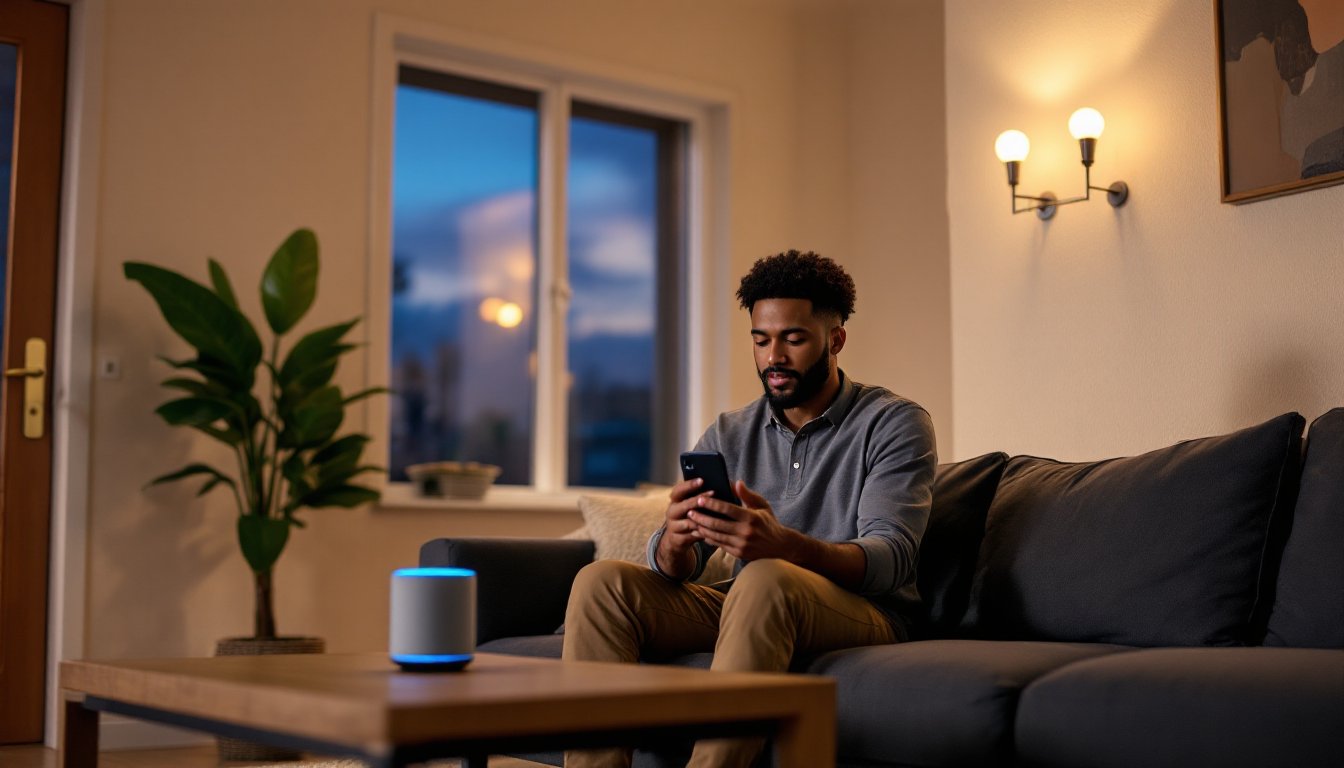
Smart Speaker or Display: This acts as the control hub. Amazon Echo Dot, Google Nest Mini, or Apple HomePod mini all provide voice control and app integration. A display model like the Echo Show or Nest Hub adds a touchscreen for visual feedback and camera feeds.
Smart Bulbs or Switches: Smart bulbs (Philips Hue, LIFX, Wyze) screw into existing fixtures and connect via Wi-Fi or a hub. They’re renter-friendly but require the switch to stay on. Smart switches (Lutron Caseta, Leviton Decora) replace traditional wall switches and control any bulb, including dumb ones. They require a neutral wire in the electrical box, check before purchasing. If the home lacks a neutral, use battery-powered switches or hire an electrician.
Smart Thermostat: Models like the Nest Learning Thermostat, Ecobee SmartThermostat, or Honeywell Home T9 replace outdated units and learn heating and cooling patterns. Installation takes 30–60 minutes and requires turning off power at the breaker. Most thermostats use a C-wire (common wire) for continuous power: if the existing system lacks one, install a C-wire adapter or use a model with battery backup.
Smart Lock: Deadbolts from August, Yale, or Schlage retrofit onto existing doors without replacing the entire lockset. They install with a screwdriver in 15–30 minutes. Look for models with auto-lock, remote access, and backup keypads. Ensure the deadbolt aligns properly, misaligned strikes cause battery drain and lock failures.
Smart Plugs: These adapt any device with an on/off switch into a smart device. TP-Link Kasa, Wemo, and Amazon Smart Plug all work well for lamps, fans, and small appliances. They’re the easiest entry point and cost $10–$25 per unit.
Security Cameras: Indoor cameras (Wyze Cam, Blink Mini) monitor pets and packages. Outdoor models (Ring, Arlo, Nest) require weather-resistant housings and either battery power or low-voltage wiring. Wired cameras provide continuous recording but may require drilling through siding or soffits. Follow manufacturer specs for placement height and angle to avoid blind spots.
Setting Up and Connecting Your Smart Devices
Most smart devices follow a similar setup process. Download the manufacturer’s app, create an account, and follow the in-app pairing instructions. Here’s the general workflow:
- Power on the device. For plug-in devices, connect to an outlet. For hardwired switches or thermostats, confirm power is off at the breaker before installation.
- Enable pairing mode. This usually involves holding a button for 5–10 seconds until an LED blinks.
- Connect to Wi-Fi. The app will scan for the device and prompt for the home Wi-Fi password. Use the 2.4 GHz band, most smart devices don’t support 5 GHz.
- Name the device. Use specific names like “Living Room Lamp” or “Front Door Lock” instead of vague labels. This makes voice commands more reliable.
- Link to the smart home ecosystem. Open the Alexa, Google Home, or Apple Home app and add the device. Most apps have a “Link Account” or “Add Device” option that pulls in the manufacturer’s credentials.
For devices that require a hub (like Philips Hue or Lutron Caseta), plug the hub into the home router via Ethernet, then pair individual devices through the hub’s app before linking the entire system to Alexa, Google, or HomeKit.
Troubleshooting tips: If a device won’t connect, restart the router and confirm the phone is on the same 2.4 GHz network. Check for firmware updates in the device app. If pairing still fails, reset the device (consult the manual) and try again. Walls, metal appliances, and distance from the router all degrade Wi-Fi signals, consider a mesh network system (Eero, Google Wifi) if coverage is spotty.
Automating Your Home for Maximum Convenience
The real power of a smart home comes from automation, setting devices to respond to triggers without manual input. Smart home tech strategies rely on routines, schedules, and sensors to reduce daily friction.
Routines bundle multiple actions into a single command or trigger. Examples:
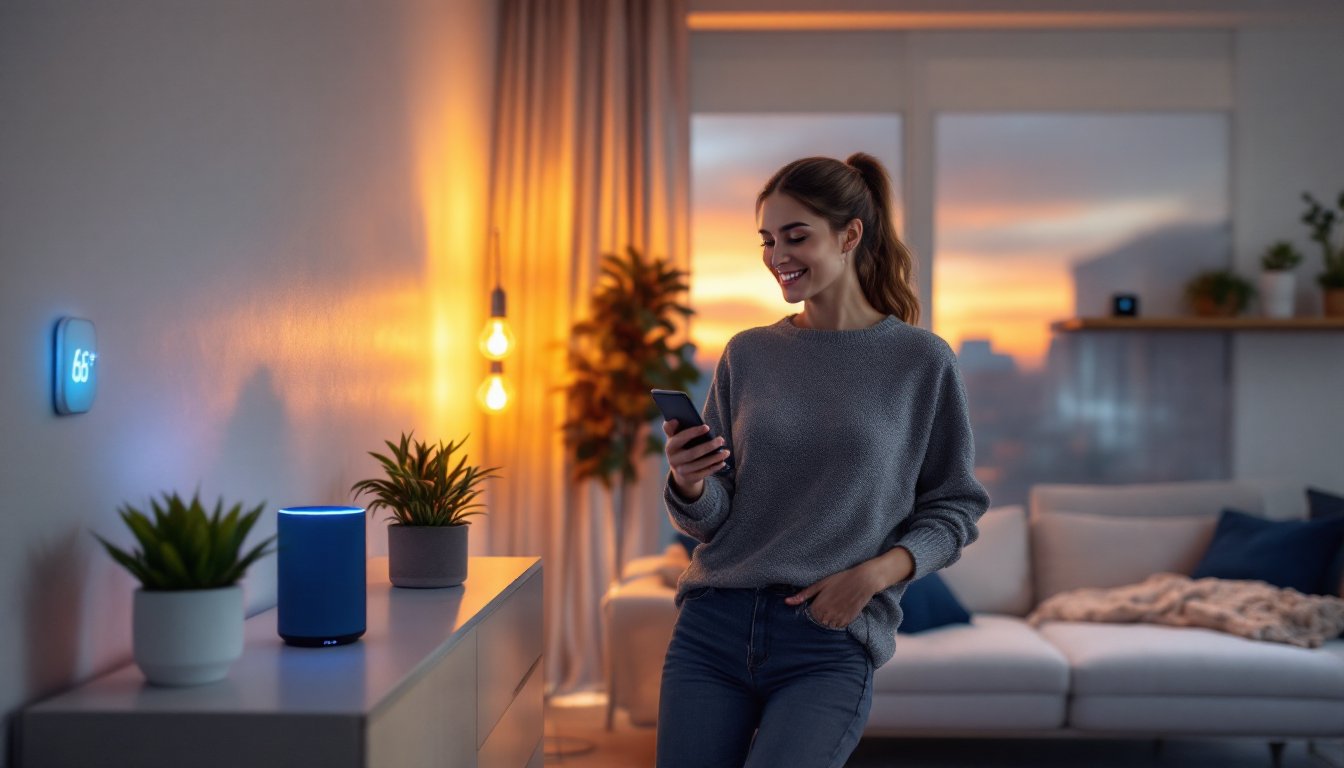
- Morning routine: “Alexa, good morning” turns on kitchen lights, adjusts the thermostat to 68°F, and starts the coffee maker (via a smart plug).
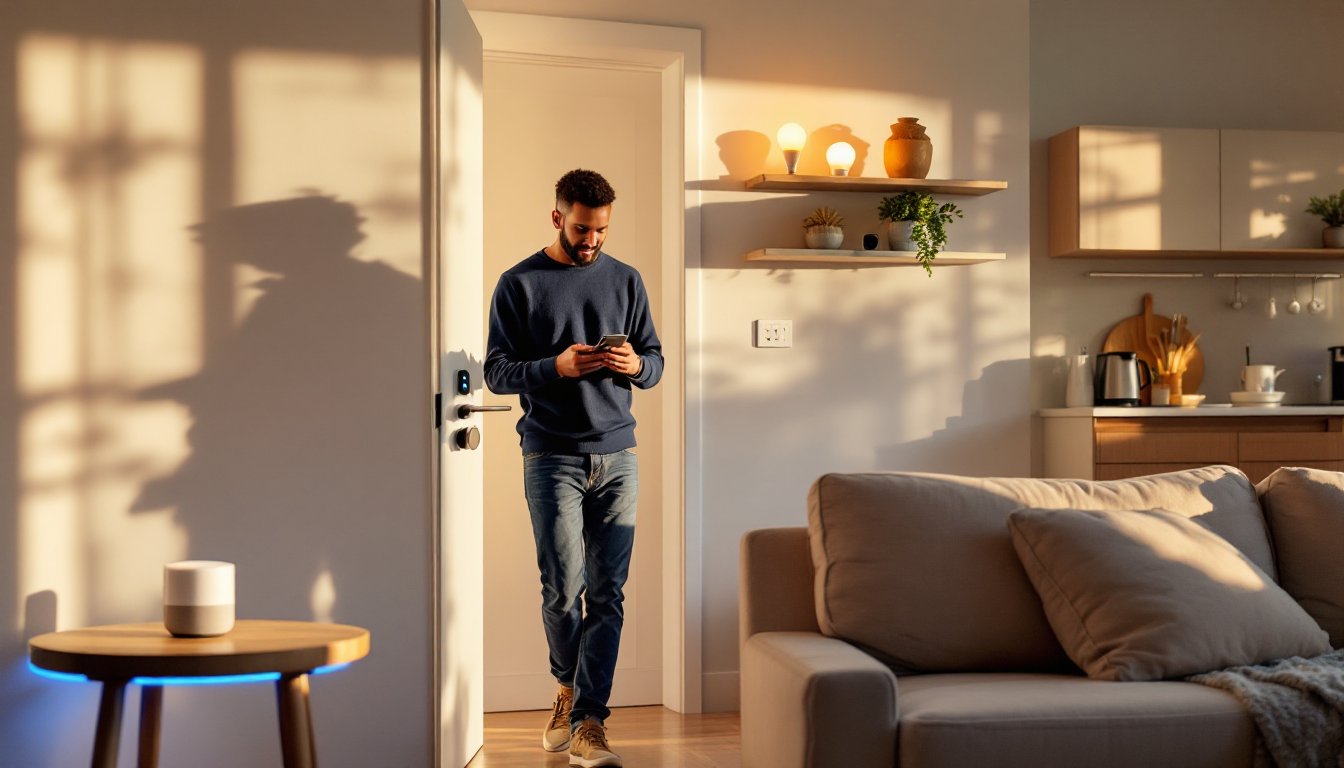
- Leaving home: When the smart lock engages, all lights turn off, the thermostat drops to 62°F, and security cameras arm.
- Bedtime: At 10 PM, lights dim to 20%, doors lock, and the thermostat lowers to 65°F.
Create routines in the Alexa, Google Home, or Apple Home app. Most platforms allow time-based, voice-activated, or device-triggered automations.
Schedules work well for predictable events. Set outdoor lights to turn on at sunset and off at sunrise. Program the thermostat to warm up 30 minutes before waking and cool down during work hours. Schedules eliminate the need for constant manual adjustments.
Sensors add intelligence. Motion sensors trigger lights in hallways, closets, or garages when someone enters and turn them off after a set period of inactivity. Door/window sensors can send alerts if a door opens while the system is armed or trigger lights when someone arrives home. Temperature and humidity sensors adjust HVAC settings based on real-time conditions instead of fixed schedules.
Most automation logic uses “if-this-then-that” rules. If motion is detected in the driveway, turn on porch lights and send a camera alert. If the thermostat reads above 78°F, turn on the ceiling fan. Start simple with one or two automations, test for a week, and add complexity as comfort with the system grows.
Safety note: Never automate devices in ways that could create hazards. Don’t set space heaters or irons on smart plugs, these should always have manual shutoffs. Test automated locks regularly to ensure they engage fully, and keep a physical key accessible in case of Wi-Fi or power failures.
For advanced control, platforms like Home Assistant or Hubitat offer deeper customization and local processing, but they require more technical knowledge. Stick with native apps for the first few months before exploring third-party automation tools.
Smart homes evolve over time. What starts as a single smart bulb often expands into a fully integrated system as homeowners discover new use cases and pain points. The key is starting with a clear plan, choosing compatible devices, and building automations that genuinely simplify daily tasks rather than adding complexity for its own sake.