Transforming a house into an IoT smart home isn’t about gadgets for gadget’s sake, it’s about making daily routines more efficient, secure, and comfortable. Internet of Things (IoT) technology connects everyday devices to a network, letting homeowners control lighting, temperature, locks, and cameras from a phone or voice command. As of 2026, these systems have matured from novelty to necessity, with more reliable protocols, better interoperability, and pricing that makes entry-level setups accessible to most DIYers. Whether someone’s replacing a single thermostat or wiring an entire renovation for automation, understanding how these devices communicate and integrate is the first step toward a smarter home.
Table of Contents
ToggleKey Takeaways
- An IoT smart home automates everyday tasks like lighting, temperature control, and security through internet-connected devices that communicate via Wi-Fi, Zigbee, Z-Wave, or Thread protocols.
- Smart thermostats and lighting systems deliver measurable energy savings of 10–15% by learning schedules, reducing phantom loads, and automating adjustments based on occupancy.
- Security devices like video doorbells, cameras, and smart locks provide real-time alerts and remote monitoring, with integrated systems triggering multiple responses to single events like unauthorized door openings.
- Start building your smart home with high-impact devices such as a smart thermostat first, then add smart bulbs and security cameras gradually while ensuring your network can handle multiple connected devices.
- Maintain security and reliability by keeping firmware updated, choosing devices with strong manufacturer track records, documenting all devices in a spreadsheet, and checking local electrical codes before hardwiring any components.
- Matter-certified smart home devices reduce platform lock-in by enabling cross-brand compatibility, allowing a Samsung sensor to work seamlessly with Philips bulbs without compatibility issues.
What Is an IoT Smart Home and How Does It Work?
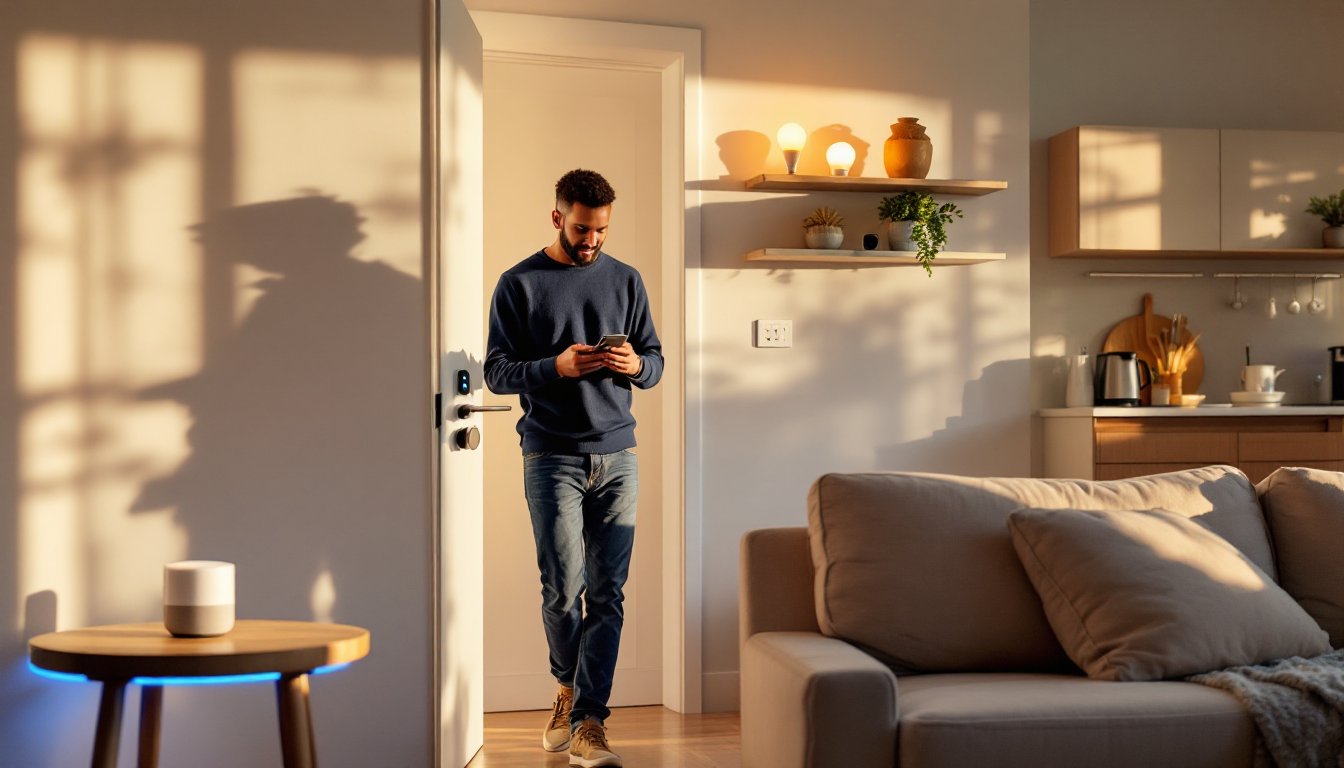
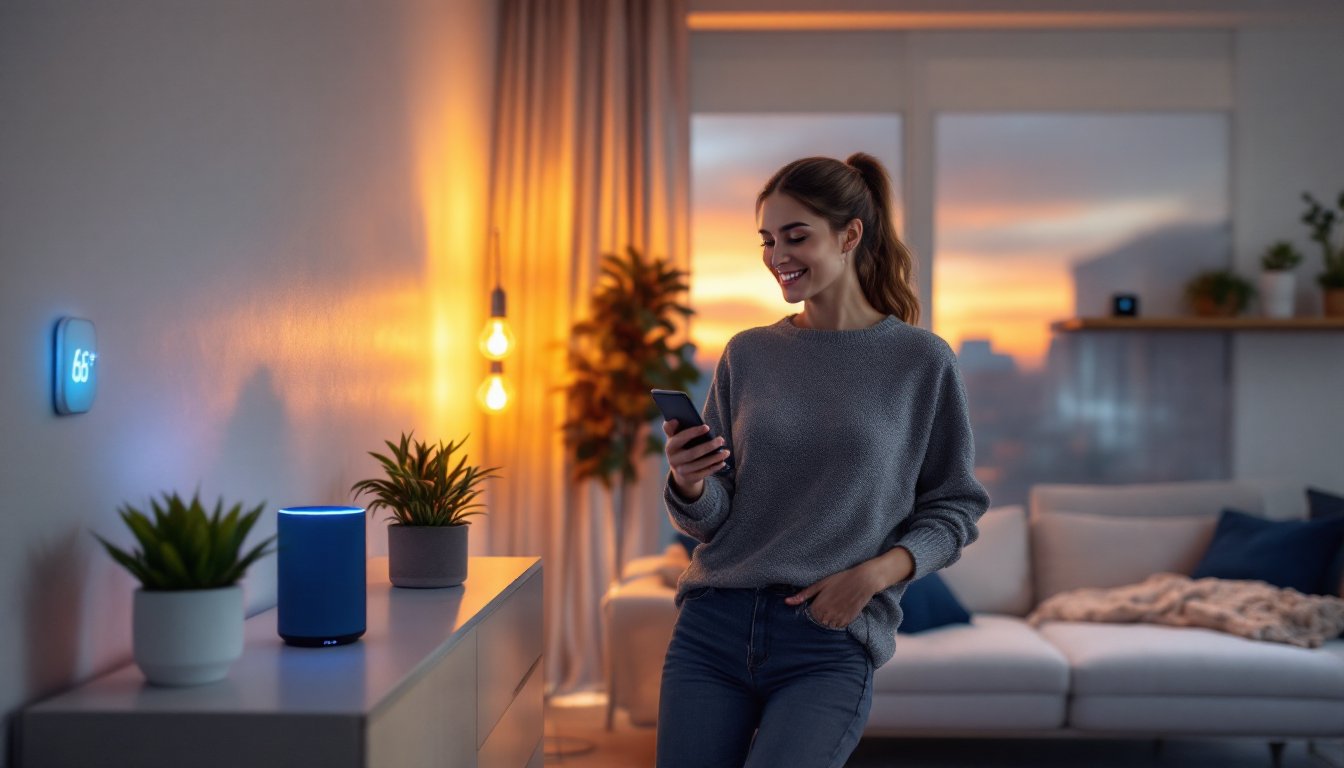
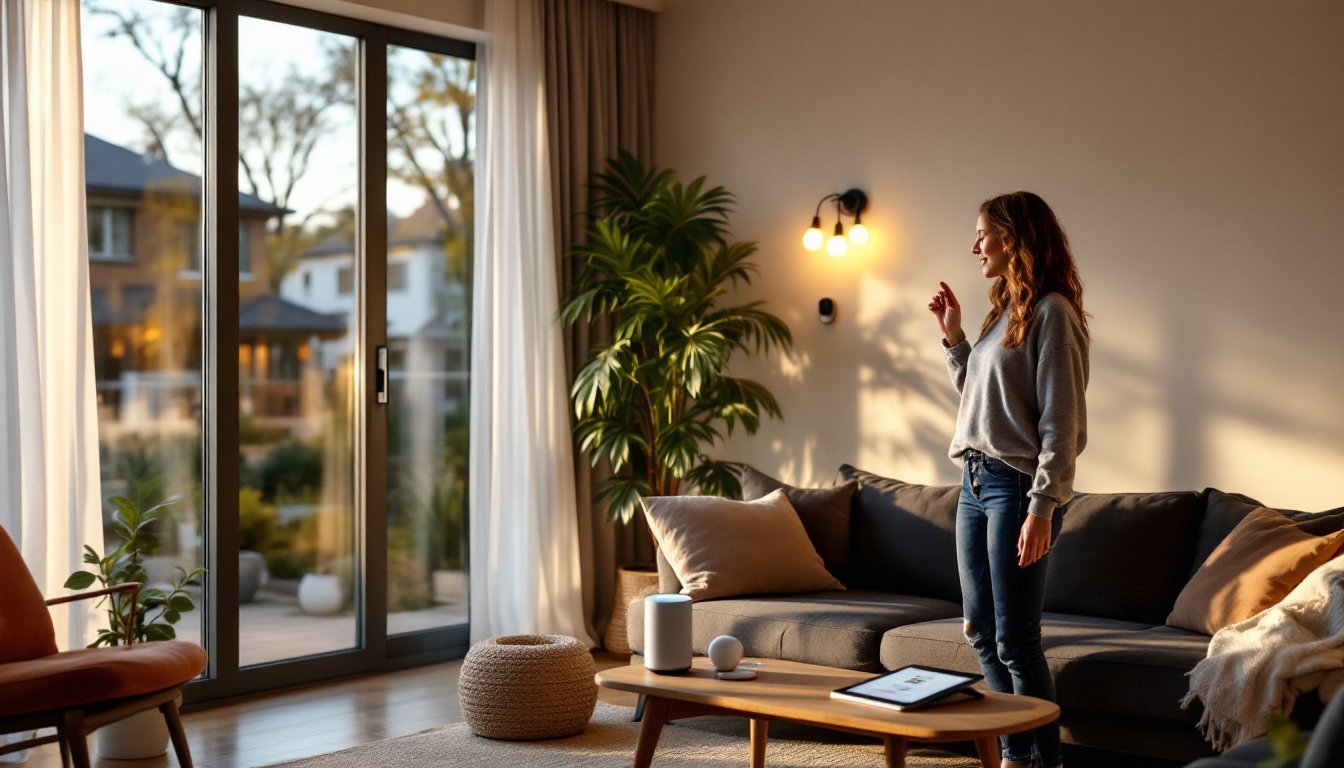
An IoT smart home uses internet-connected devices to automate and remotely control household functions. These devices communicate through a central hub or directly via Wi-Fi, Zigbee, Z-Wave, or Thread protocols. The hub, whether it’s a dedicated controller, a voice assistant like Amazon Echo or Google Nest, or a smartphone app, acts as the command center.
Most systems operate on a simple loop: sensors detect changes (motion, temperature, door contact), send signals to the hub, and trigger programmed responses (turn on lights, adjust the thermostat, send an alert). For example, a motion sensor in the hallway can flip on smart bulbs at 20% brightness during nighttime hours without touching a switch.
Protocol choice matters for reliability and range. Wi-Fi works for high-bandwidth devices like cameras but can bog down routers. Zigbee and Z-Wave create mesh networks where each device extends the signal, ideal for spread-out homes. Thread, backed by the Matter standard launched in 2022 and now widely adopted, promises better interoperability across brands, meaning a Samsung sensor can talk to a Philips bulb without compatibility headaches.
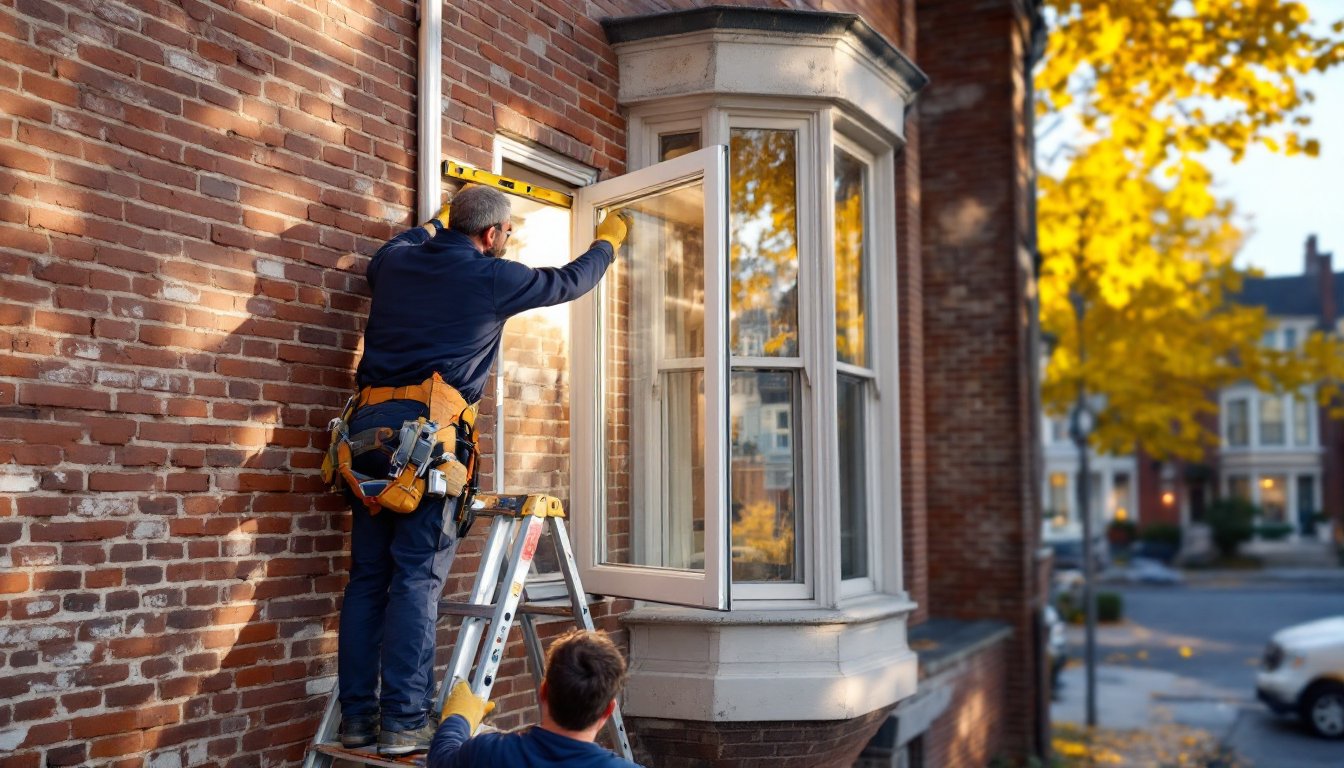
Wiring isn’t usually required for retrofits. Battery-powered sensors, plug-in smart outlets, and wireless bulbs install in minutes. New construction or major renovations offer the chance to run low-voltage wiring (often 18/2 or 22/4 for sensors and door contacts) inside walls for a cleaner look and fewer battery swaps. Always check local electrical codes: while most low-voltage IoT work doesn’t require permits, adding new 120V circuits for hardwired hubs or cameras does in many jurisdictions.
Essential IoT Devices Every Smart Home Needs
Building a functional IoT smart home doesn’t require buying every gadget on the market. Start with devices that address real daily friction: lighting you forget to turn off, thermostats that waste energy, and entry points that need monitoring.
Smart Lighting and Climate Control Systems
Smart lighting is the easiest entry point. Smart bulbs (LED, typically 800–1100 lumens for general use) screw into existing fixtures and connect via Wi-Fi or Zigbee. Brands like Philips Hue, LIFX, and Sengled offer dimming, color tuning, and scheduling. For whole-room control, smart switches replace standard wall switches and work with any bulb, useful in kitchens or living rooms with multiple fixtures. Installing a switch requires basic wiring knowledge: turn off the breaker, identify line (hot) and load wires, and connect per the manufacturer’s diagram. If there’s no neutral wire in the box (common in older homes), look for switches rated for no-neutral installations.
Climate control saves real money. A smart thermostat like the Ecobee or Honeywell Home T9 learns schedules, adjusts based on occupancy, and integrates with voice assistants. Installation is straightforward: label and photograph existing thermostat wires (typically R, W, Y, G, C), mount the new baseplate, and match wires to terminals. The C-wire (common) provides continuous 24V power, if it’s missing, many kits include an adapter that pulls power from the furnace control board. Homes with heat pumps or multi-stage systems should verify compatibility before buying: some thermostats can’t handle complex HVAC setups. Energy bills often drop 10–15% with proper programming, and many connected climate systems qualify for utility rebates.
Security Cameras, Locks, and Monitoring Devices
Security devices add peace of mind and real deterrence. Video doorbells (Ring, Nest, Arlo) mount where an existing doorbell button sits, using the same two low-voltage wires. They send motion alerts and live video to a phone, record clips to the cloud, and let homeowners talk to visitors remotely. If there’s no existing doorbell wiring, battery-powered models work but require recharging every few months.
Outdoor cameras should be rated IP65 or higher for weather resistance. Wireless models simplify installation, mount to siding or soffit with lag screws into studs or blocking, and route the charging cable through a small hole sealed with silicone. Wired Power over Ethernet (PoE) cameras offer better reliability and no battery swaps but require running Cat5e/Cat6 cable and a PoE switch or injector.
Smart locks replace deadbolts with keypads, fingerprint readers, or auto-unlock via phone proximity. Most fit standard door prep (2-1/8″ bore, 1″ deadbolt hole) and install with a screwdriver in under 30 minutes. August, Yale, and Schlage models integrate with major platforms. Always keep a physical key backup, batteries die, and firmware updates occasionally glitch. Detailed comparisons of security setups appear in many home security reviews, which test real-world range and app responsiveness.
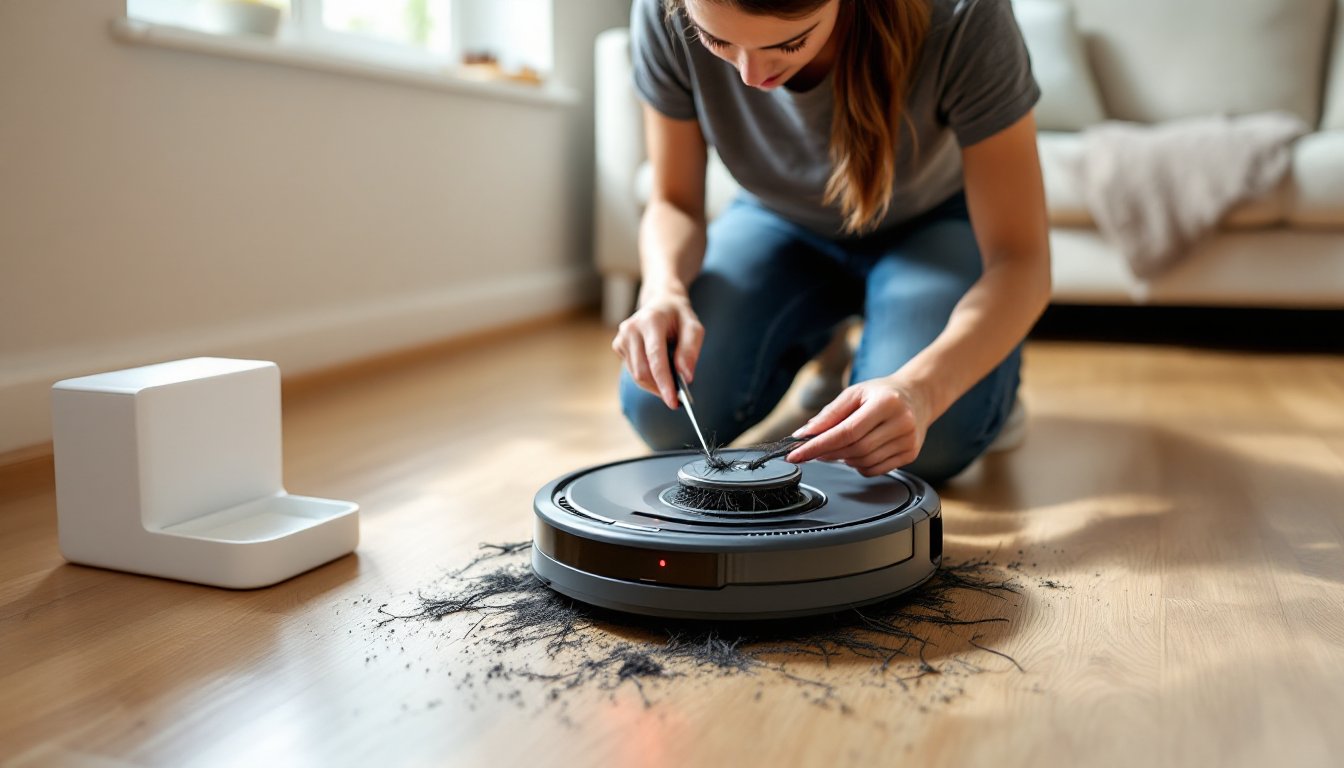
Door/window sensors and motion detectors round out a security system. These small, battery-powered units stick or screw to trim and alert homeowners to unexpected openings or movement. Pair them with smart plugs controlling lamps for an automated “someone’s home” effect when the system arms.
Benefits of Building an IoT-Enabled Smart Home
IoT smart homes deliver measurable improvements in energy efficiency, security, and convenience, not just tech-for-tech’s-sake appeal.
Energy savings top the list. Smart thermostats trim heating and cooling costs by learning occupancy patterns and adjusting temperatures during empty hours. Smart plugs cut phantom loads from devices in standby mode: a typical household wastes 5–10% of electric use on always-on electronics. Automated lighting turns off forgotten bulbs and dims based on natural light, reducing waste.
Enhanced security comes from real-time alerts and remote monitoring. Cameras capture package deliveries and suspicious activity, while smart locks let homeowners grant temporary access to contractors or guests without handing out keys. Integrated systems can trigger multiple responses to a single event, say, a door sensor opens after 10 PM, cameras start recording, and lights flood the entryway.
Convenience and accessibility matter more as households age or include members with mobility challenges. Voice commands control lights, locks, and thermostats without reaching switches or fumbling with keys. Routines automate multi-step tasks: “Goodnight” locks doors, arms sensors, dims lights, and lowers the thermostat. Scheduled scenes adjust lighting for movie nights or dinner parties with a single tap.
Home value and buyer appeal have risen as smart infrastructure becomes expected, not exotic. Homes with integrated systems often list faster and command modest premiums, especially in tech-forward markets. Hardwired low-voltage infrastructure and quality devices signal a well-maintained, modern property.
That said, IoT setups require ongoing attention. Firmware updates patch security vulnerabilities, skipping them exposes devices to hacks. Cloud-dependent services can shut down if a manufacturer folds or pivots. Local control options (like Hubitat or Home Assistant running on a Raspberry Pi) offer more resilience but demand more technical skill. Always choose devices with strong manufacturer track records and active user communities.
Getting Started: Setting Up Your First IoT Smart Home System
Launching an IoT smart home is easier when approached step-by-step, starting small and expanding as comfort and budget allow.
Step 1: Choose a platform. Pick a primary ecosystem, Amazon Alexa, Google Home, Apple HomeKit, or Samsung SmartThings. Each has strengths: Alexa boasts the widest device compatibility, Google excels at voice recognition and search, Apple prioritizes privacy and local processing, and SmartThings offers deep customization. Matter-certified devices work across platforms, reducing lock-in risk. Most DIYers start with a smart speaker or display ($30–$100) as the hub.
Step 2: Assess network capacity. A reliable home network is non-negotiable. If the existing router struggles with multiple devices or drops connections in far rooms, upgrade to a mesh Wi-Fi system (eero, Google Nest Wifi, Netgear Orbi). Place nodes centrally to cover dead zones. Hardwire the main router to the modem with Cat6 cable and position IoT-heavy areas within strong signal range. Most smart devices use the 2.4 GHz band for better range: ensure the router broadcasts both 2.4 and 5 GHz with distinct SSIDs if devices struggle to connect.
Step 3: Start with high-impact devices. Install a smart thermostat first, it delivers immediate ROI and proves the concept. Add smart bulbs or switches in the most-used rooms (kitchen, living room, bedroom). Swap one exterior light for a motion-activated smart bulb to test outdoor reliability. Each success builds confidence for the next step.
Step 4: Add security gradually. Install a video doorbell, then expand to outdoor cameras covering entry points and driveways. Mount cameras under eaves or soffits to protect from direct rain, and angle lenses to avoid backlighting from the sun. Run a test recording at different times of day to check image quality. Effective smart home implementation strategies often prioritize monitoring over automation in the early stages.
Step 5: Automate with routines. Once individual devices work reliably, build routines (also called scenes or automations). Common examples: lights turn on at sunset, thermostat lowers at bedtime, cameras arm when everyone leaves (detected via phone geofencing). Test each routine for a week and tweak timing or triggers as needed. Platforms like CNET’s smart home hub offer pre-built automation ideas and troubleshooting for popular devices.
Step 6: Document and label. Keep a simple spreadsheet listing each device, model number, purchase date, Wi-Fi network (main or IoT-specific SSID), and any custom settings. Label devices clearly in the app (“Front Porch Camera,” not “Camera_3”). Future you, or a buyer, will appreciate the clarity.
Safety and permits: Most plug-in and battery IoT devices need no permits. Hardwiring smart switches, adding circuits for PoE cameras, or installing low-voltage structured wiring may require an electrical permit depending on jurisdiction. If a project involves opening walls, running conduit, or modifying panels, check with the local building department first. Always wear safety glasses when drilling overhead and use a non-contact voltage tester before touching any wires, even after flipping breakers. For complex setups, whole-home audio, integrated lighting control, or security systems tied to monitoring services, hiring a licensed low-voltage or alarm contractor ensures code compliance and warranty protection. Resources like Tom’s Guide provide detailed reviews and installation walkthroughs for hundreds of devices, comparing setup difficulty and real-world performance.
Conclusion
Building an IoT smart home in 2026 is less about chasing trends and more about solving real problems, cutting energy waste, tightening security, and reclaiming time spent on repetitive tasks. Start with one or two high-value devices, learn the platform, and expand deliberately. With solid planning, a reliable network, and attention to integration, any DIYer can create a connected home that works harder and smarter every day.