Installing a home security system used to mean paying for professional installation and signing multi-year monitoring contracts. The Yale Smart Home Alarm Kit changes that equation. This DIY-friendly wireless alarm system lets homeowners install, monitor, and control their security setup without running cables through walls or scheduling technician visits. Yale, a lock manufacturer with over 180 years of experience, entered the smart security market with a modular kit that works with major voice assistants and doesn’t require a landline or professional monitoring. For DIYers who want real security without the markup, this kit deserves a close look.
Table of Contents
ToggleKey Takeaways
- The Yale Smart Home Alarm Kit eliminates professional installation costs and contracts with a fully wireless, self-monitored system that most homeowners can set up in under two hours.
- No monthly monitoring fees are required—Yale’s system is self-monitored by default, though optional third-party monitoring is available for $10-15/month with no long-term commitment.
- Voice control integration with Amazon Alexa and Google Assistant allows you to arm, disarm, and check sensor status hands-free, though Apple HomeKit support is not available.
- The modular design supports up to 20 devices per hub, enabling gradual expansion with additional sensors, smart locks, cameras, and environmental detectors without rewiring.
- Wireless range limitations (100-150 feet) and the lack of cellular backup in the base kit mean internet outages disable remote monitoring, which may be a concern for larger homes or frequent travelers.
- Over a five-year period, the Yale Smart Home Alarm Kit costs significantly less than traditional systems, with self-monitoring at zero monthly cost versus $1,800-3,600 in monitoring fees from traditional providers.
What Is the Yale Smart Home Alarm Kit?
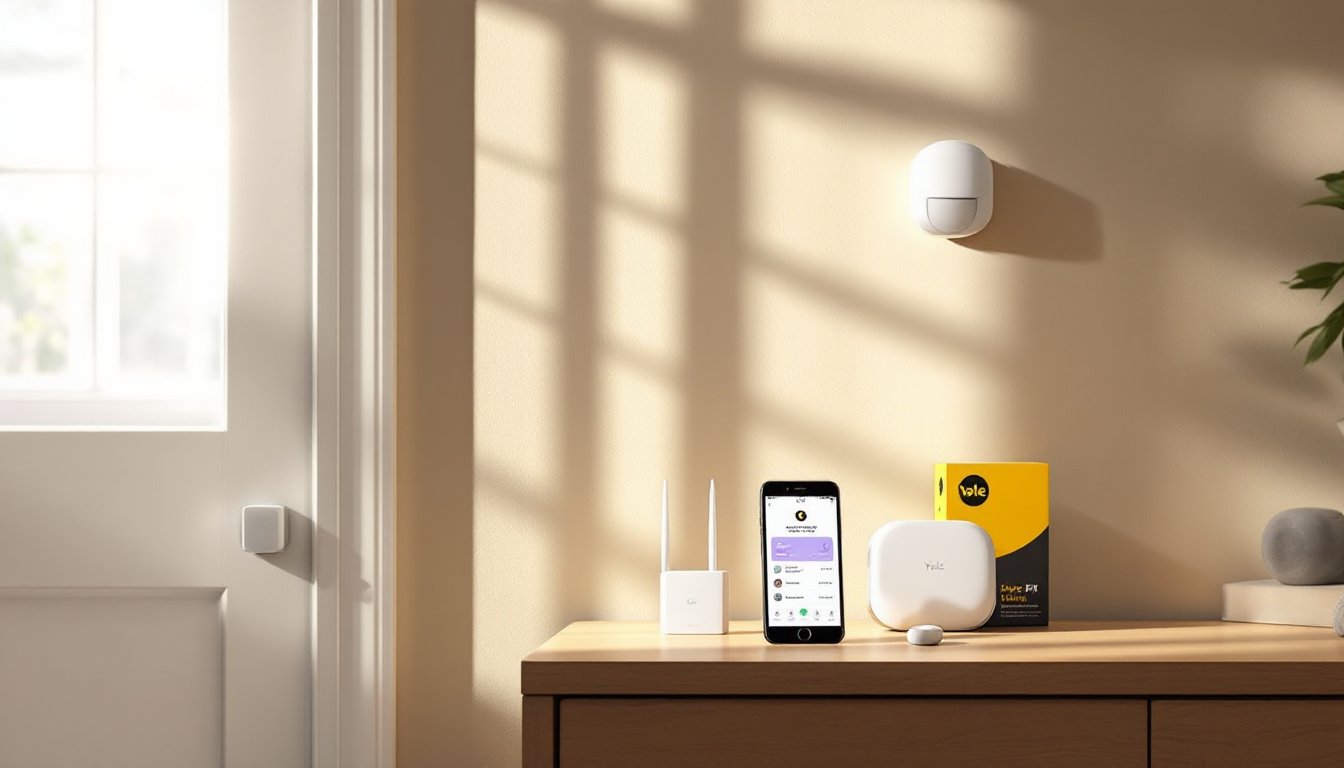
The Yale Smart Home Alarm Kit is a wireless, self-monitored security system designed for residential installation. The base kit typically includes a control panel hub, door/window sensors, a motion detector, and a key fob for arming and disarming. Unlike hardwired systems, every component communicates via wireless protocols, no drilling through studs or fishing wire through walls.
The system operates on a central hub that connects to your home Wi-Fi network. This hub coordinates all sensors and triggers the 85+ decibel siren when a breach occurs. Yale sells the kit in tiered packages, with options to add extra sensors, smart locks, cameras, and environmental monitors (smoke, CO, water leak detectors).
Important distinction: Yale offers self-monitoring by default. You receive alerts on your phone when a sensor trips. Professional monitoring is available through third-party services for an additional fee, but it’s not required. This keeps monthly costs low and gives homeowners full control over their security response.
The kit runs on battery power for sensors (typically CR123A lithium batteries) and includes backup battery power for the hub. This means the system keeps working during power outages, though the hub does need to reconnect to Wi-Fi once power returns.
Key Features That Set Yale Apart
Modular Expansion
Yale’s system supports up to 20 devices per hub, including door/window sensors, motion detectors, panic buttons, and Yale’s own smart locks. This scalability matters for larger homes or homeowners who want to phase in coverage over time. Adding sensors doesn’t require rewiring or reprogramming, just pair the new device through the app.
Voice Assistant Integration
The Yale kit works with Amazon Alexa and Google Assistant. Homeowners can arm or disarm the system, check sensor status, and receive spoken alerts without opening the app. This integration is native, not through third-party bridges. But, Apple HomeKit support is not included as of 2026, which may be a dealbreaker for dedicated iOS ecosystem users.
Geofencing and Automation
The Yale app includes geofencing, which can automatically arm the system when everyone leaves and disarm it when the first person arrives home. Automation rules let users create schedules (“arm every night at 11 PM”) or trigger actions based on sensor activity. For example, a door sensor can turn on lights when someone enters after dark.
No Contracts, Optional Monitoring
Unlike ADT or Vivint, Yale doesn’t lock users into monitoring contracts. The system functions fully as a self-monitored setup. If professional monitoring is desired, Yale partners with third-party services that typically charge $10-15/month with no long-term commitment. This flexibility appeals to DIYers who want to test the system before adding monitoring.
Tamper Alerts and Battery Monitoring
Each sensor includes tamper detection, if someone tries to remove or disable a sensor, the system sends an alert. The app also monitors battery levels for all devices and sends low-battery warnings weeks in advance. Batteries typically last 12-18 months depending on sensor activity.
Installation Guide: Setting Up Your Yale Alarm System
Tools and Materials Needed
- Phillips screwdriver (for mounting brackets)
- Drill with 3/16″ bit (for drywall anchors, if mounting on drywall)
- Ladder or step stool
- Smartphone with the Yale Home app installed
- Strong Wi-Fi signal throughout the installation area
Step-by-Step Installation
- Position the Hub
Place the control panel hub within 6 feet of your router initially to ensure a strong connection during setup. The hub needs power, so locate it near an outlet. Once configured, you can move it to a more central location, but keep it within your Wi-Fi range. Avoid placing the hub in basements or metal cabinets, which can interfere with wireless signals.
- Download the App and Create an Account
Install the Yale Home app (iOS or Android). Create an account and follow the in-app prompts to add the hub. The app will guide you through connecting the hub to your Wi-Fi network. Use the 2.4 GHz band, the system doesn’t support 5 GHz networks.
- Pair Sensors and Devices
Once the hub is online, add sensors one at a time. For door/window sensors, mount the larger piece (with the battery) on the door frame and the smaller magnet piece on the door itself. Keep the gap between them under 1/2 inch when the door is closed. Misalignment causes false alarms.
For motion detectors, mount them 6-8 feet high in corners for optimal coverage. Avoid pointing them directly at windows or heat sources (fireplaces, radiators), which can trigger false detections.
- Test Each Sensor
After mounting, test every sensor individually through the app. Open doors, walk in front of motion detectors, and verify that alerts appear in the app within 2-3 seconds. If a sensor shows “offline,” check battery orientation and ensure it’s within wireless range of the hub (typically 100-150 feet in open space, less through walls).
- Set Up Arming Modes
The system includes three modes: Armed Away (all sensors active), Armed Stay (motion detectors off, perimeter sensors on), and Disarmed. Configure which sensors activate in each mode. For example, you may want to disable the kitchen motion detector in Stay mode if you move around at night.
- Configure Alerts and Contacts
Add emergency contacts in the app. When the alarm triggers, these contacts receive push notifications and SMS alerts. Set the entry delay (time to disarm before the siren sounds) to 30-60 seconds, enough time to disarm, but short enough to prevent an intruder from simply leaving.
Permit and Code Considerations
Installing a wireless alarm system typically does not require a building permit since no structural or electrical work is involved. But, if you add hardwired smoke or CO detectors as part of the system, local codes may apply. Check with your municipality, especially if you’re replacing existing hardwired detectors with wireless units.
Smart Home Integration and App Control
The Yale Home app serves as the command center for the system. The interface is straightforward: a home screen shows sensor status, arming mode, and recent activity. Tapping any sensor reveals its history, battery level, and signal strength.
Voice Control Setup
To integrate with Alexa, enable the Yale Home skill in the Alexa app and link your Yale account. Once connected, you can say, “Alexa, arm the security system” or “Alexa, is the front door open?” For Google Assistant, link the Yale Home action through the Google Home app. Voice commands work reliably, but disarming via voice requires a verbal PIN code for security, you can’t just ask Alexa to disarm without authentication.
Routine and Automation Examples
Many homeowners integrate the Yale kit with smart home tech examples like smart lights and thermostats. A common automation: when the system arms in Away mode, smart lights turn off and the thermostat sets to energy-saving mode. When disarmed, lights turn on and the thermostat adjusts to comfort settings.
The app also supports if-this-then-that (IFTTT) integration, though Yale’s native automation features cover most use cases. For instance, you can set the system to send a notification if a door opens during specific hours, or trigger lights to flash if the alarm sounds.
Remote Access and Notifications
As long as the hub has internet connectivity, homeowners can arm, disarm, and monitor the system from anywhere. Push notifications arrive within seconds of sensor activity. The app also logs all events, useful for checking whether kids arrived home from school or if a contractor accessed the house during a remodel.
One limitation: the system doesn’t include cellular backup in the base kit. If your internet goes down, you lose remote access and notifications, though the local siren still functions. Cellular backup modules are available as add-ons for around $100 plus a monthly data fee.
Pros and Cons of the Yale Smart Alarm Kit
Pros
- True DIY installation: No drilling through walls, no hardwired connections. Most homeowners complete setup in under two hours.
- No contracts required: Self-monitoring is free. Professional monitoring is optional and month-to-month.
- Expandable system: Add sensors, smart locks, cameras, and environmental detectors as needs grow.
- Battery backup: The system keeps working during power outages, though Wi-Fi needs to return for remote access.
- Strong siren: The 85+ decibel alarm is loud enough to alert neighbors and deter intruders.
- Tamper detection: Alerts notify you if someone tries to disable sensors.
Cons
- No Apple HomeKit support: A significant gap for homeowners invested in the Apple ecosystem.
- No cellular backup in base kit: Internet outages disable remote monitoring and notifications.
- Sensor range limitations: Wireless range is rated at 100-150 feet, but walls, metal, and interference reduce this. Large homes or homes with thick masonry walls may need additional hubs or signal repeaters.
- Battery replacement: While sensors last 12-18 months per battery, replacing CR123A lithium batteries in 10-20 sensors adds up over time.
- Limited professional monitoring options: Yale’s third-party monitoring partners are less established than ADT or SimpliSafe’s in-house services.
Independent reviews from sources like CNET’s DIY security systems and Tom’s Guide confirm these strengths and weaknesses, noting that the Yale kit excels in ease of use but trails competitors in advanced features like cellular backup and HomeKit integration.
Is the Yale Smart Home Alarm Kit Worth It for Your Home?
The Yale Smart Home Alarm Kit makes sense for specific homeowner profiles. It’s ideal for DIYers comfortable with basic tech setup who want security without monthly contracts. Renters also benefit, the wireless design means no permanent modifications, and the system moves easily to a new home.
Homeowners already invested in Alexa or Google ecosystems will appreciate the native integration. According to Digital Trends, the voice control features work smoothly and add convenience to daily routines.
The kit is less ideal for:
- Apple HomeKit users: Without native support, iOS-centric households lose seamless integration with their existing devices.
- Large or complex homes: Wireless range limits and the lack of cellular backup may require workarounds or additional equipment.
- Homeowners who prefer professional monitoring: Yale’s third-party monitoring options lack the maturity and features of dedicated security companies.
Cost Breakdown
The base Yale Smart Home Alarm Kit typically retails for $200-250 and includes the hub, two door/window sensors, one motion detector, and a key fob. Additional sensors run $25-40 each, and smart locks add $100-200. Over a five-year period, self-monitoring costs zero beyond initial hardware and battery replacements (roughly $30-50/year for batteries). Compare this to traditional systems with $30-60/month monitoring fees, which total $1,800-3,600 over five years.
For homeowners looking to expand their connected setup, pairing the Yale kit with smart home devices like video doorbells and smart thermostats creates a comprehensive security and automation ecosystem. The system also integrates well for those exploring smart home tech ideas to modernize older homes without rewiring.
Safety and Security Considerations
No DIY system replaces professional-grade security with 24/7 monitoring and rapid police dispatch. The Yale kit relies on you to respond to alerts. If you travel frequently or want guaranteed emergency response, add professional monitoring or consider a traditional service.
Also, remember that wireless systems depend on Wi-Fi and power. A determined intruder with a Wi-Fi jammer or who cuts power before the battery backup kicks in can disable remote monitoring. These are rare scenarios, but worth understanding.
For beginners new to connected security, starting with smart home tech for beginners can provide a foundation before jumping into a full alarm system.
Conclusion
The Yale Smart Home Alarm Kit delivers solid DIY security for homeowners who want control without contracts. Installation is straightforward, expansion is flexible, and integration with Alexa and Google works reliably. It won’t replace professional-grade systems for every scenario, but for most single-family homes and renters, it’s a practical, cost-effective solution that puts security decisions back in the homeowner’s hands.